




Help
Device guides
Apple
iPad Pro 13 (2025)

iPad Pro 13 (2025)

f-ec7fce1b-6e50-4e7c-833e-99b63ac266be
f-f21809a5-5068-49a0-8d1c-d0628b869ca0
f-ded4e2d9-3620-402e-8724-ca67991c86df
f-7b0f47dc-797c-4ac8-b416-fcaa9ded197b
f-58dc76d0-9a20-486c-91d6-0887b98bc349
f-1d08356e-03cd-4c6c-8e84-fbf70ede4647
  • Device home
  • Getting started
  • Basic functions
  • Contacts and messages
  • Connectivity
  • Specifications
  • Device home
  • Getting started
  • Basic functions
  • Contacts and messages
  • Connectivity
  • Specifications

Using Apple Intelligence and Siri AI on your tablet

Apple Intelligence and Siri AI allow you to use many of your tablet's functions in a smarter and more efficient way. Here you can see some examples of Apple Intelligence and Siri AI usage. To use most functions, you need to turn on Siri AI.

Press and hold the Top key.
Step 1 of 31

Press and hold the Top key.

If you've turned on automatic activation, you can activate Siri by saying "Hey Siri".
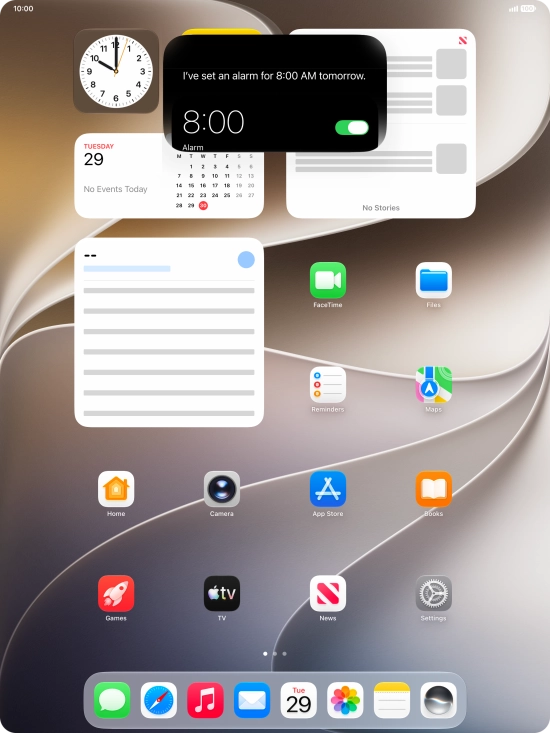
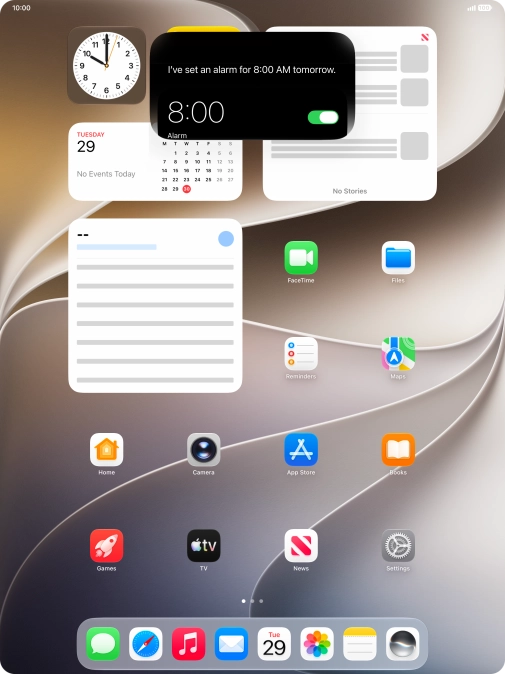
Say, in your own words, what you would like your tablet to do. OPEN CAMERA or SET AN ALARM. It's not necessary to use a specific command for each function.
Step 2 of 31

Say, in your own words, what you would like your tablet to do. OPEN CAMERA or SET AN ALARM. It's not necessary to use a specific command for each function.

You can have a direct conversation with Siri without having to write anything. Your Siri conversations are saved in the Siri app.
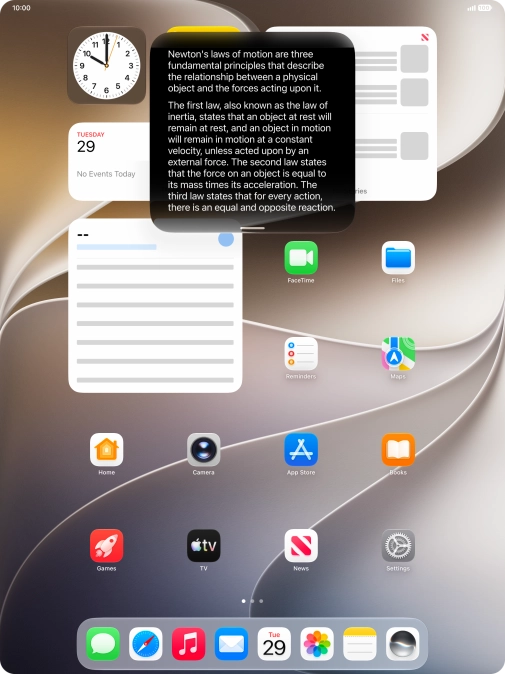
If an app is open on your tablet, such as Messages, you can also use the functions available here, e.g.: REPLY [text].
Step 3 of 31

If an app is open on your tablet, such as Messages, you can also use the functions available here, e.g.: REPLY [text].

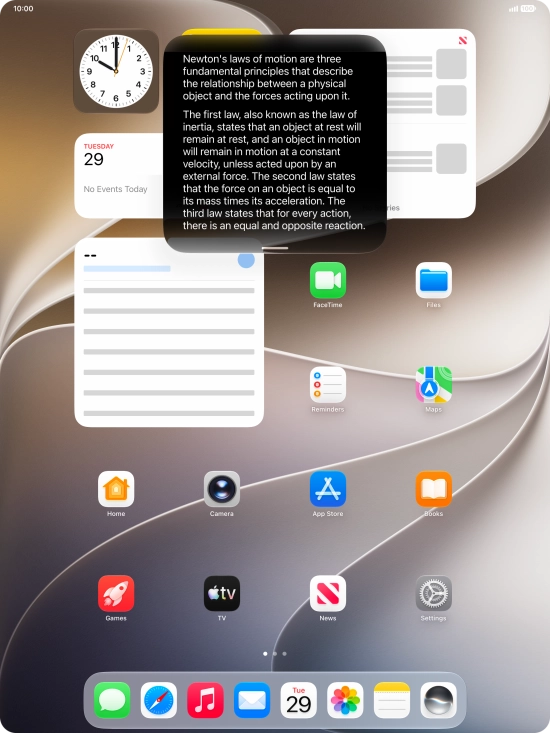
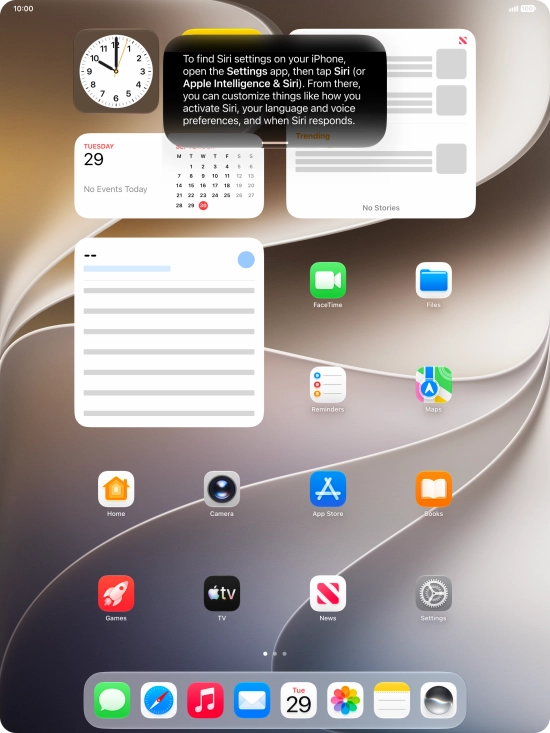
Ask questions or ask Siri to find information on the internet.
Step 4 of 31

Ask questions or ask Siri to find information on the internet.

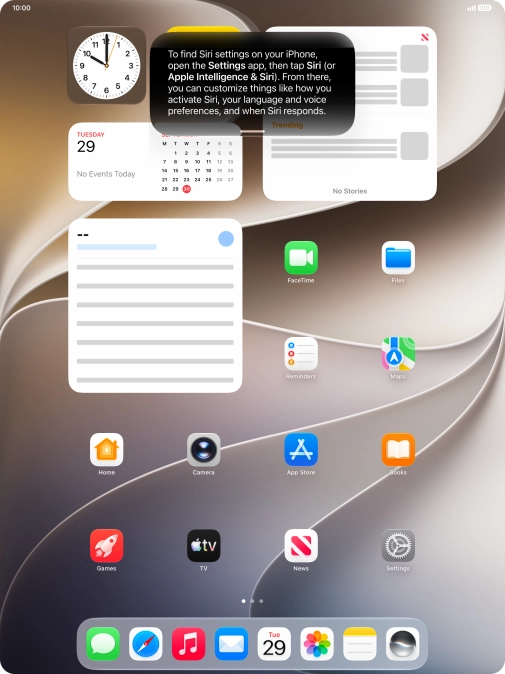
Ask questions about functions and settings on your tablet.


Step 5 of 31

Ask questions about functions and settings on your tablet.

Ask questions about the content on your screen.
Step 6 of 31

Ask questions about the content on your screen.

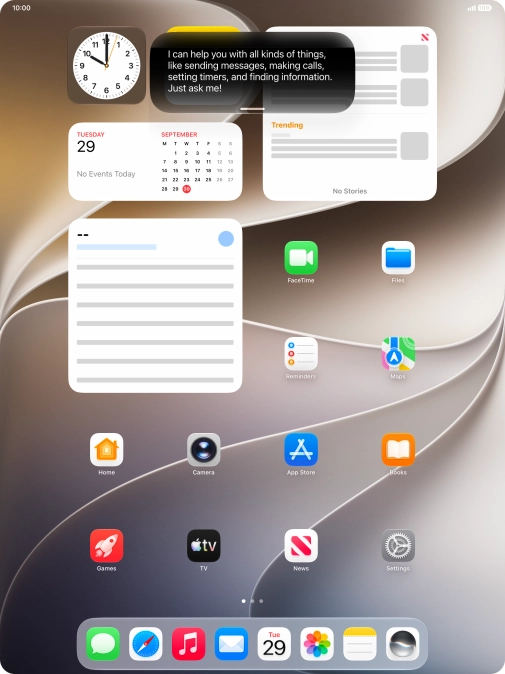
Slide your finger downwards starting from the top of the screen for more information or to continue your Siri conversation.
Step 7 of 31

Slide your finger downwards starting from the top of the screen for more information or to continue your Siri conversation.

Say
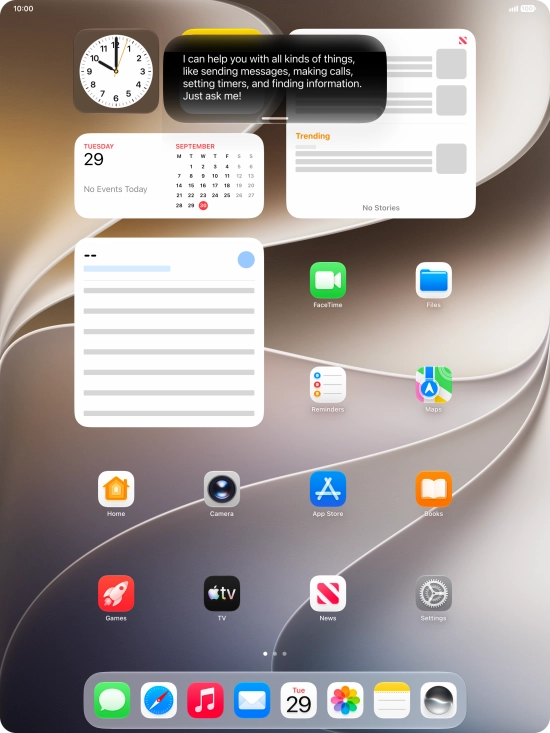
Say
Step 8 of 31

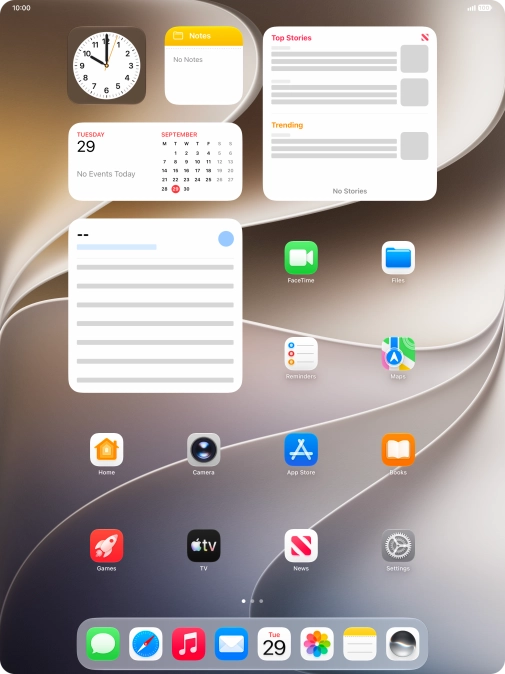
Say "WHAT CAN YOU DO?” and slide your finger downwards starting from the top of the screen for more examples.
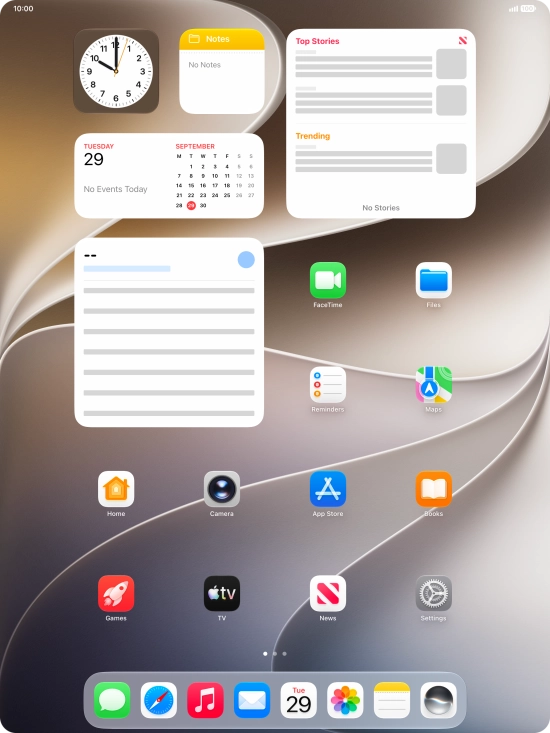
Press the Siri icon.

Step 9 of 31

Press the Siri icon.

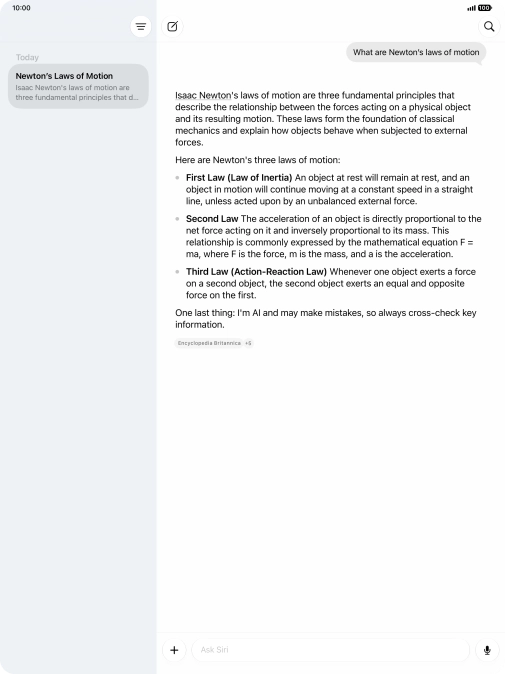
The Siri AI app compiles all your Siri conversations in one place.
Press the new conversation icon.

Step 10 of 31

Press the new conversation icon.

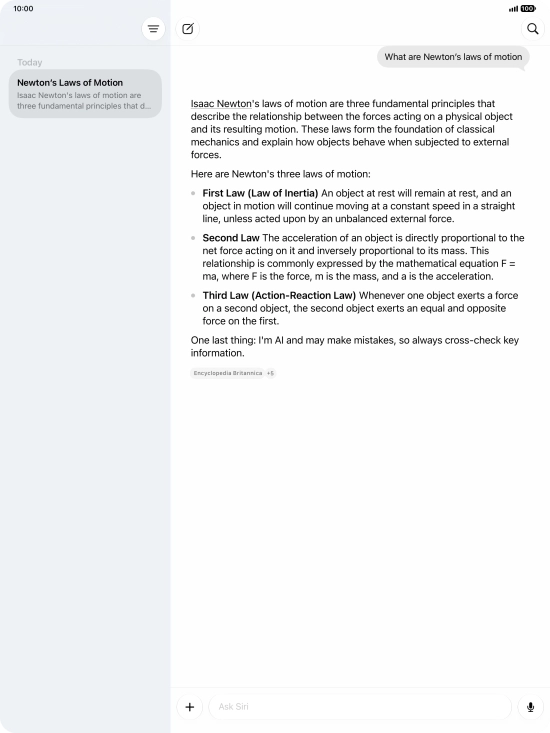
Follow the instructions on the screen to type or speak the required question. You can also attach pictures or documents and ask questions to them.
Step 11 of 31

Follow the instructions on the screen to type or speak the required question. You can also attach pictures or documents and ask questions to them.

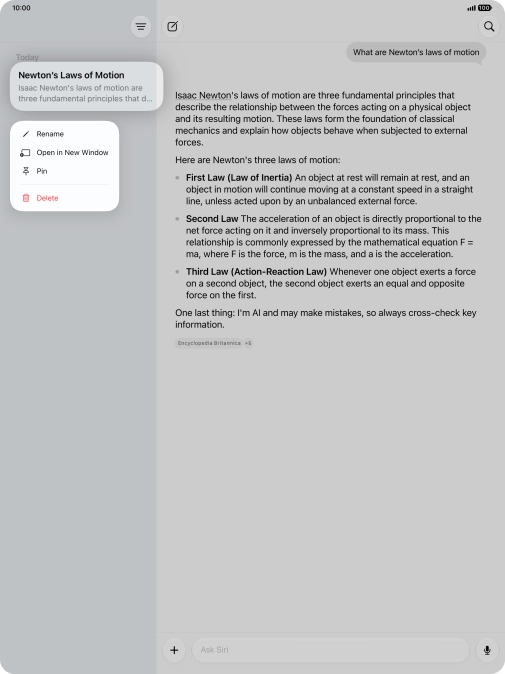
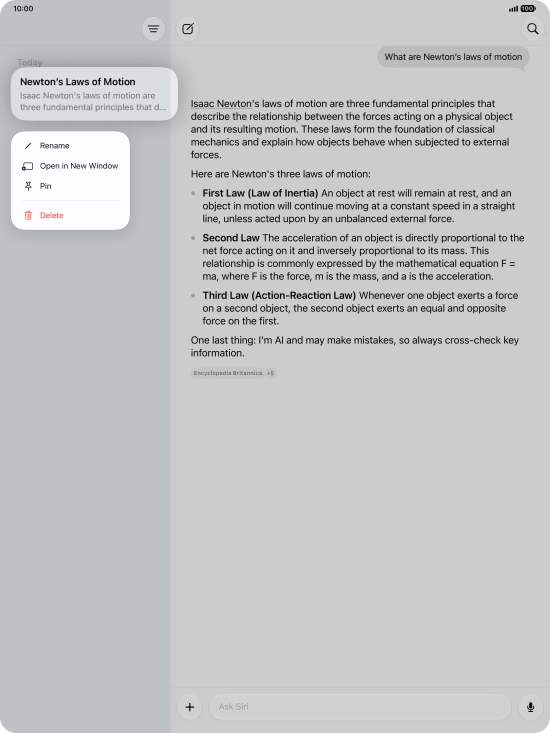
Press and hold the required conversation.
Step 12 of 31

Press and hold the required conversation.

Press Rename and follow the instructions on the screen to rename the conversation.
Step 13 of 31

Press Rename and follow the instructions on the screen to rename the conversation.

Press Pin to pin the conversation.
Step 14 of 31

Press Pin to pin the conversation.

Press Delete and follow the instructions on the screen to delete the conversation.
Step 15 of 31

Press Delete and follow the instructions on the screen to delete the conversation.

Press the search icon and follow the instructions on the screen to search your conversations.
Step 16 of 31

Press the search icon and follow the instructions on the screen to search your conversations.

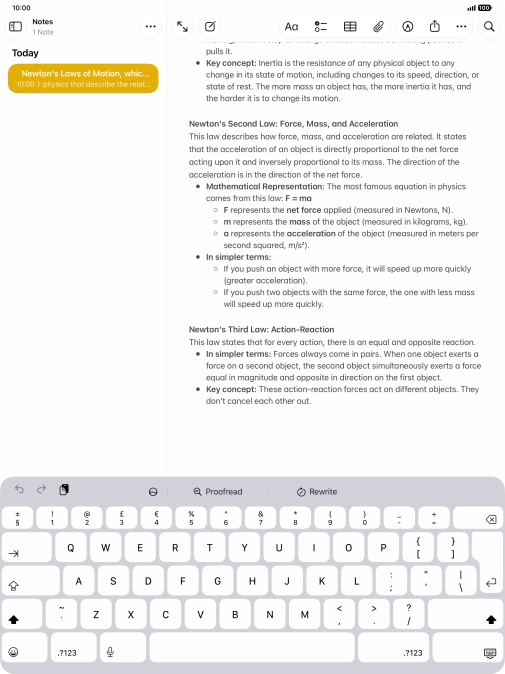
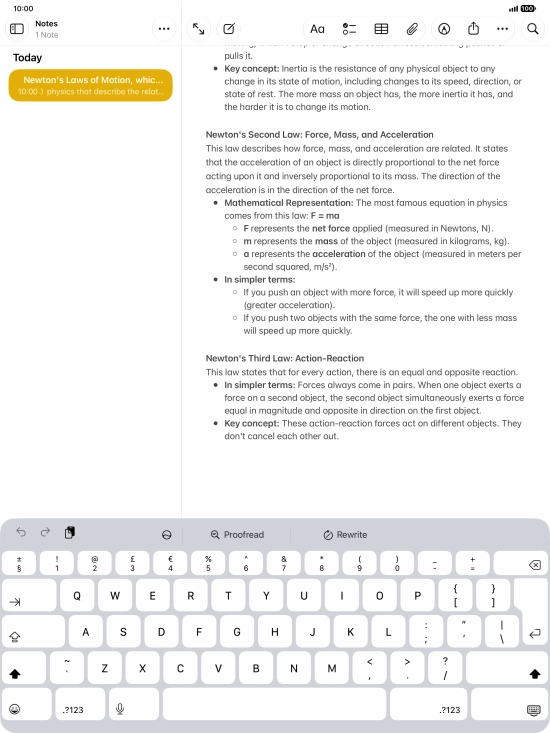
Open a supported app, such as Notes, and key in the required text.
Step 17 of 31

Open a supported app, such as Notes, and key in the required text.

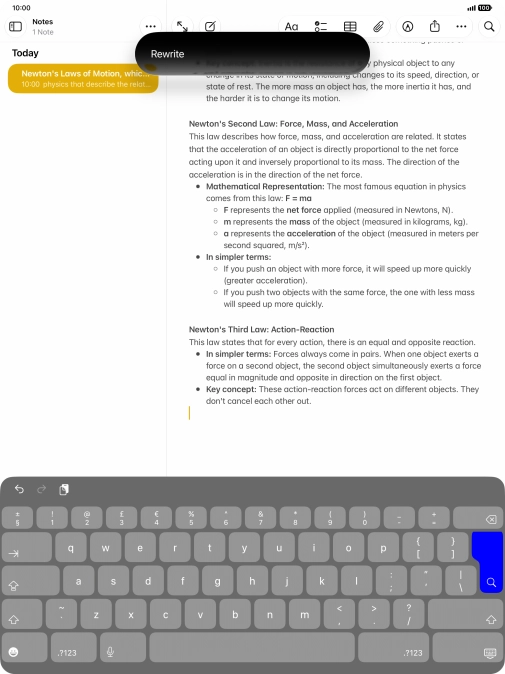
Press the Siri AI icon and follow the instructions on the screen to type or speak the required command.
Step 18 of 31

Press the Siri AI icon and follow the instructions on the screen to type or speak the required command.

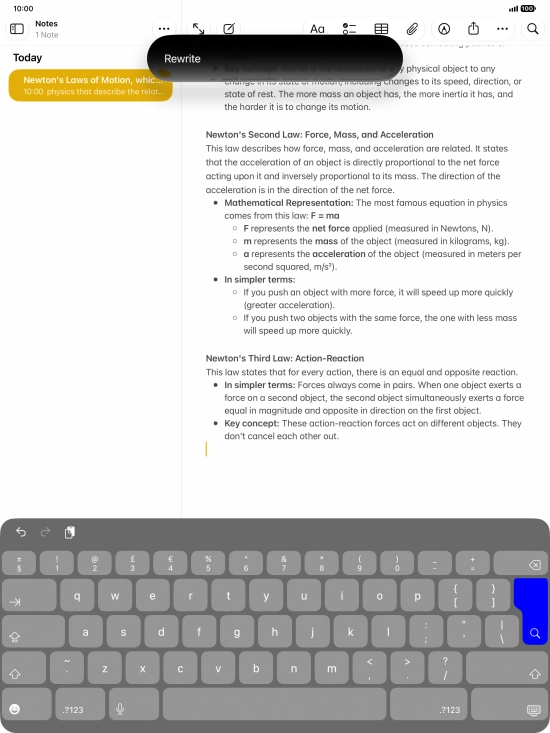
To automatically rewrite the text, use the command “Rewrite”.
Step 19 of 31

To automatically rewrite the text, use the command “Rewrite”.

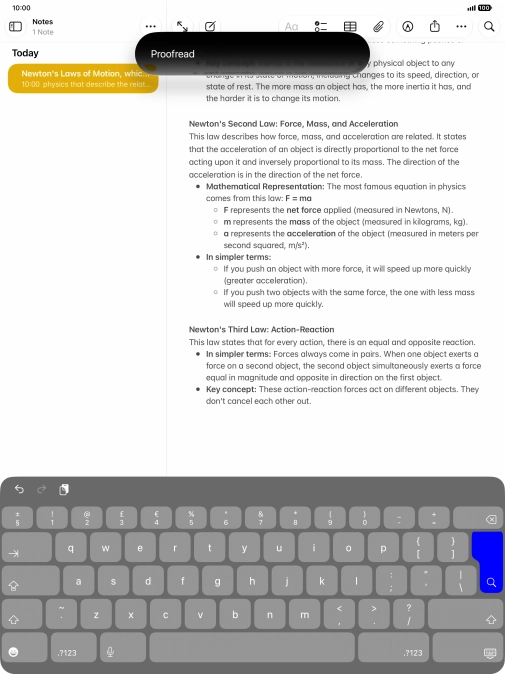
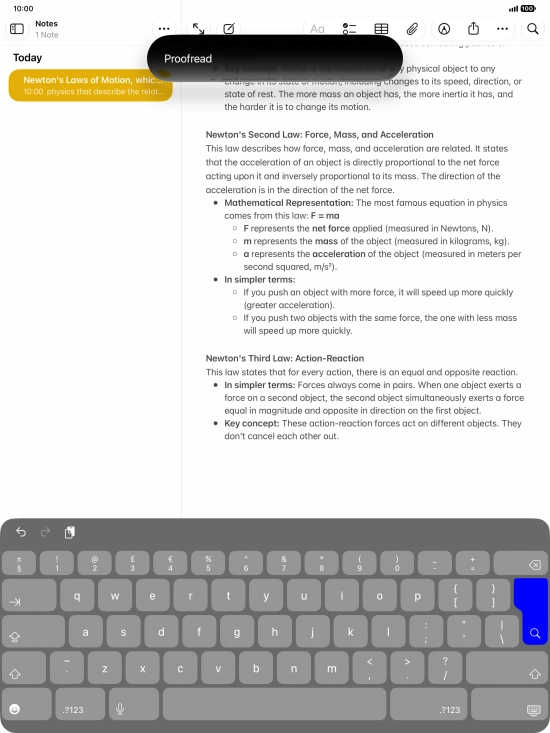
To check the text for grammatical and spelling errors, use the command “Proofread”.
Step 20 of 31

To check the text for grammatical and spelling errors, use the command “Proofread”.

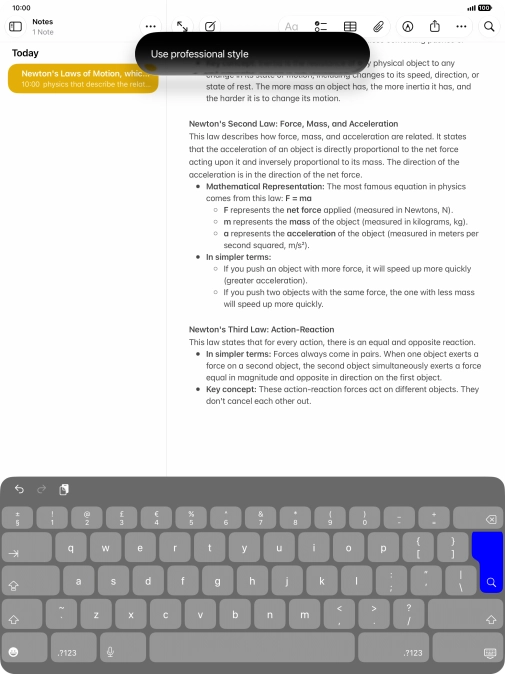
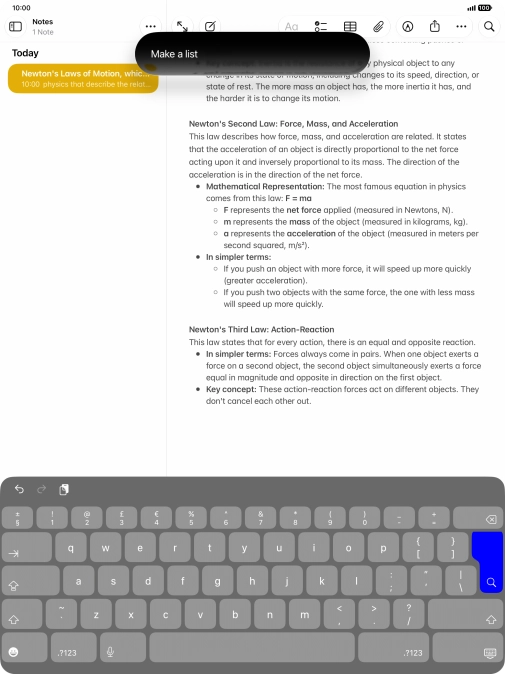
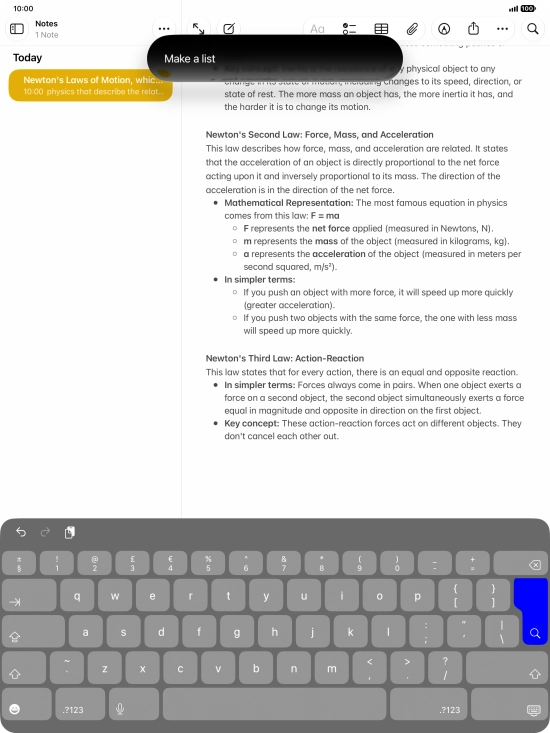
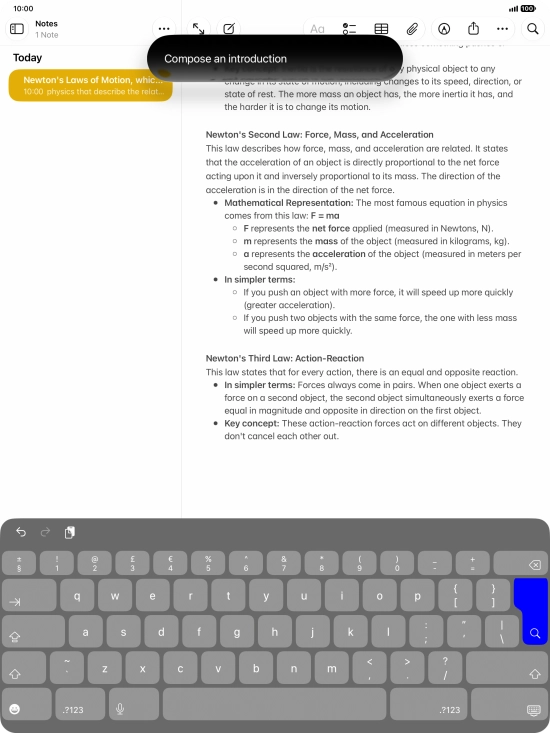
To change the writing style of the text, describe the required writing style.
Step 21 of 31

To change the writing style of the text, describe the required writing style.

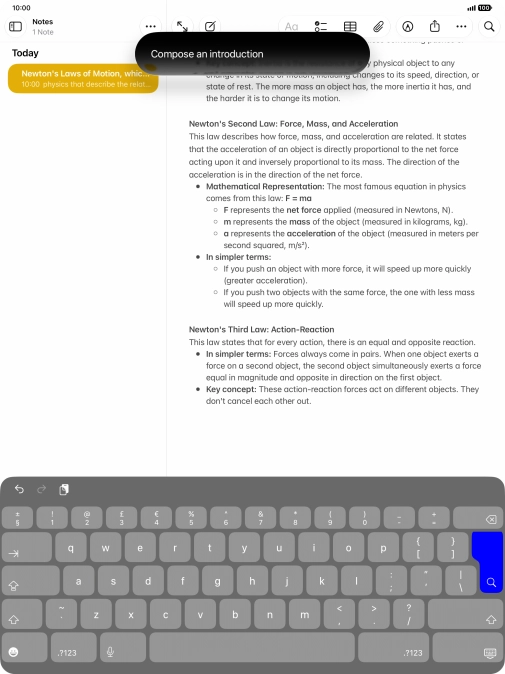
To format the text, describe the required format.
Step 22 of 31

To format the text, describe the required format.

To generate a text using ChatGPT, describe your requests regarding the text.
Step 23 of 31

To generate a text using ChatGPT, describe your requests regarding the text.

Open Messages and select an existing conversation or create a new message.


Step 24 of 31

Open Messages and select an existing conversation or create a new message.

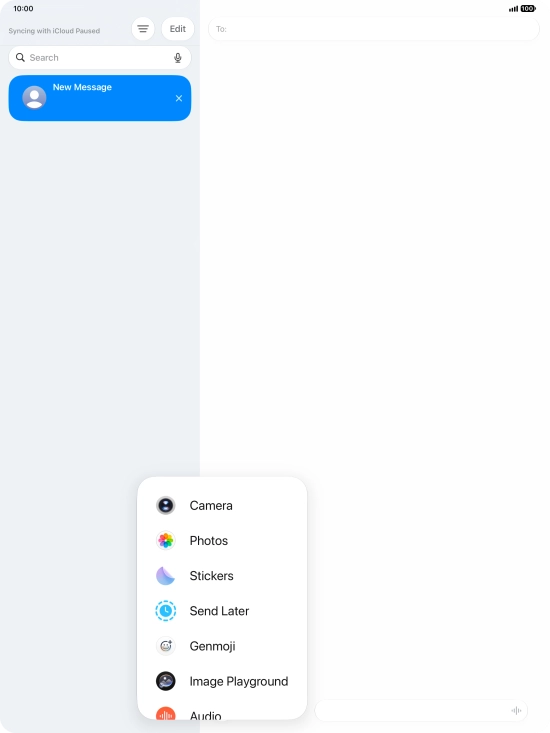
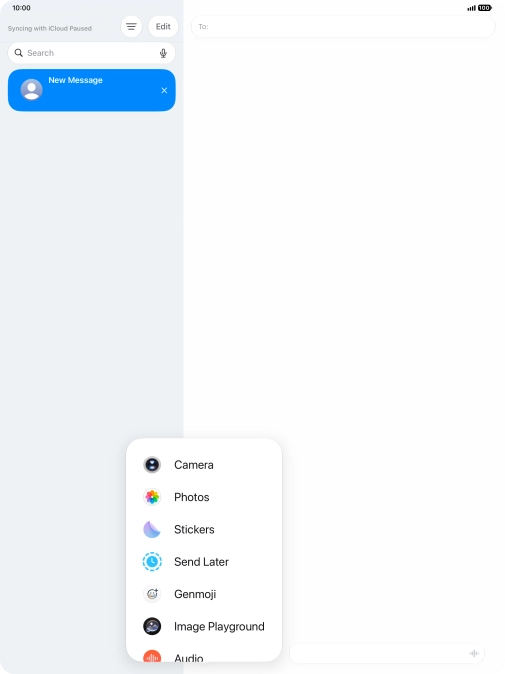
Press the add icon.
Press the add icon.
Step 25 of 31

Press the add icon.

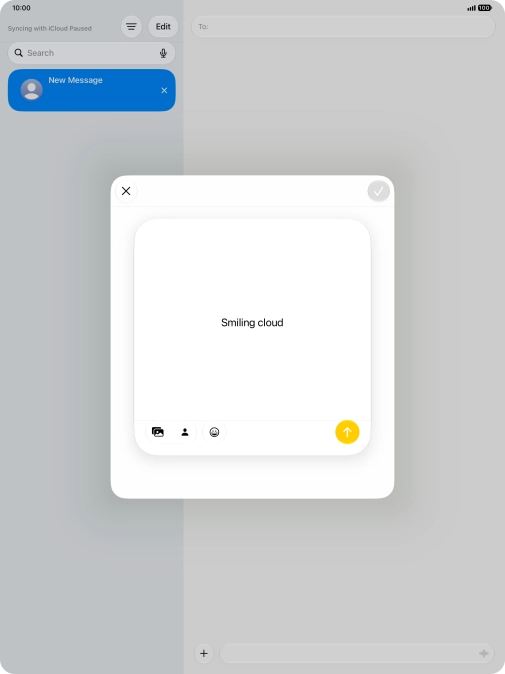
Press Genmoji.
Press Genmoji.
Step 26 of 31

Press Genmoji.

To use an existing media type as a template for your Genmoji, press the required media type and follow the instructions on the screen to select it.
Step 27 of 31

To use an existing media type as a template for your Genmoji, press the required media type and follow the instructions on the screen to select it.

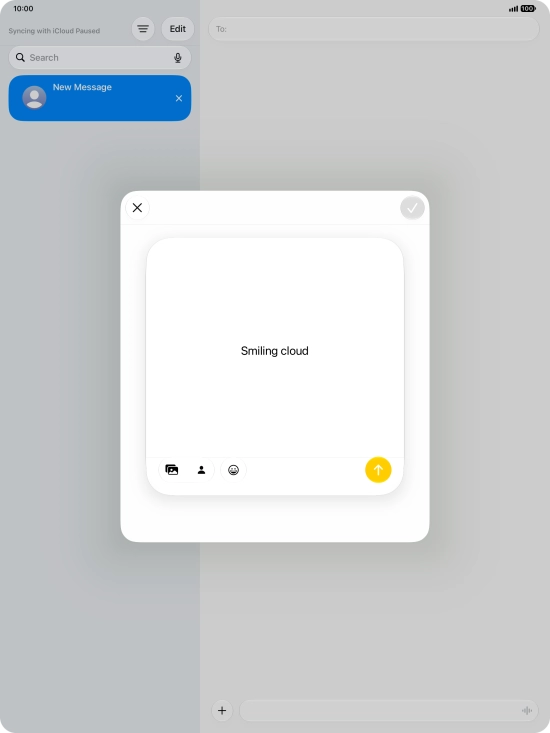
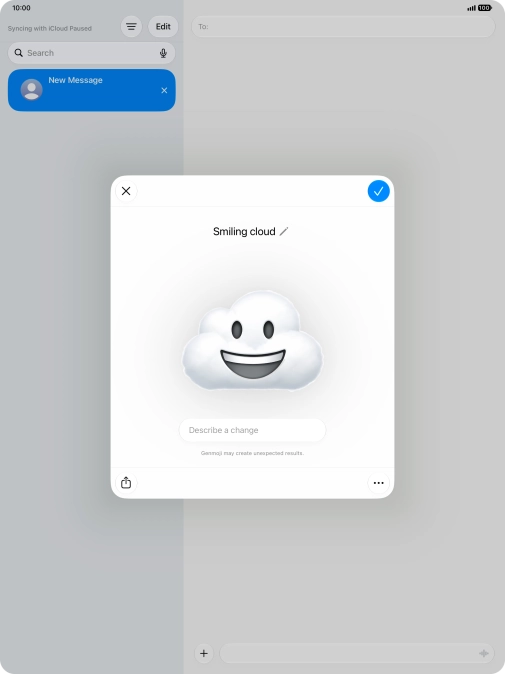
Write in your own words what you would like your Genmoji to look like, and press arrow up.

Step 28 of 31

Write in your own words what you would like your Genmoji to look like, and press arrow up.

You can use Apple Intelligence to generate specific emojis based on your own description.
To add or change something about your Genmoji, press Describe a change and follow the instructions on the screen to describe the required changes.
Step 29 of 31

To add or change something about your Genmoji, press Describe a change and follow the instructions on the screen to describe the required changes.

To use the selected Genmoji in your message, press the confirm icon.
Step 30 of 31

To use the selected Genmoji in your message, press the confirm icon.

To access more functions for the selected Genmoji, press the menu icon and follow the instructions on the screen to use them.
Step 31 of 31

To access more functions for the selected Genmoji, press the menu icon and follow the instructions on the screen to use them.

Get information on...

Or choose...

Show more